
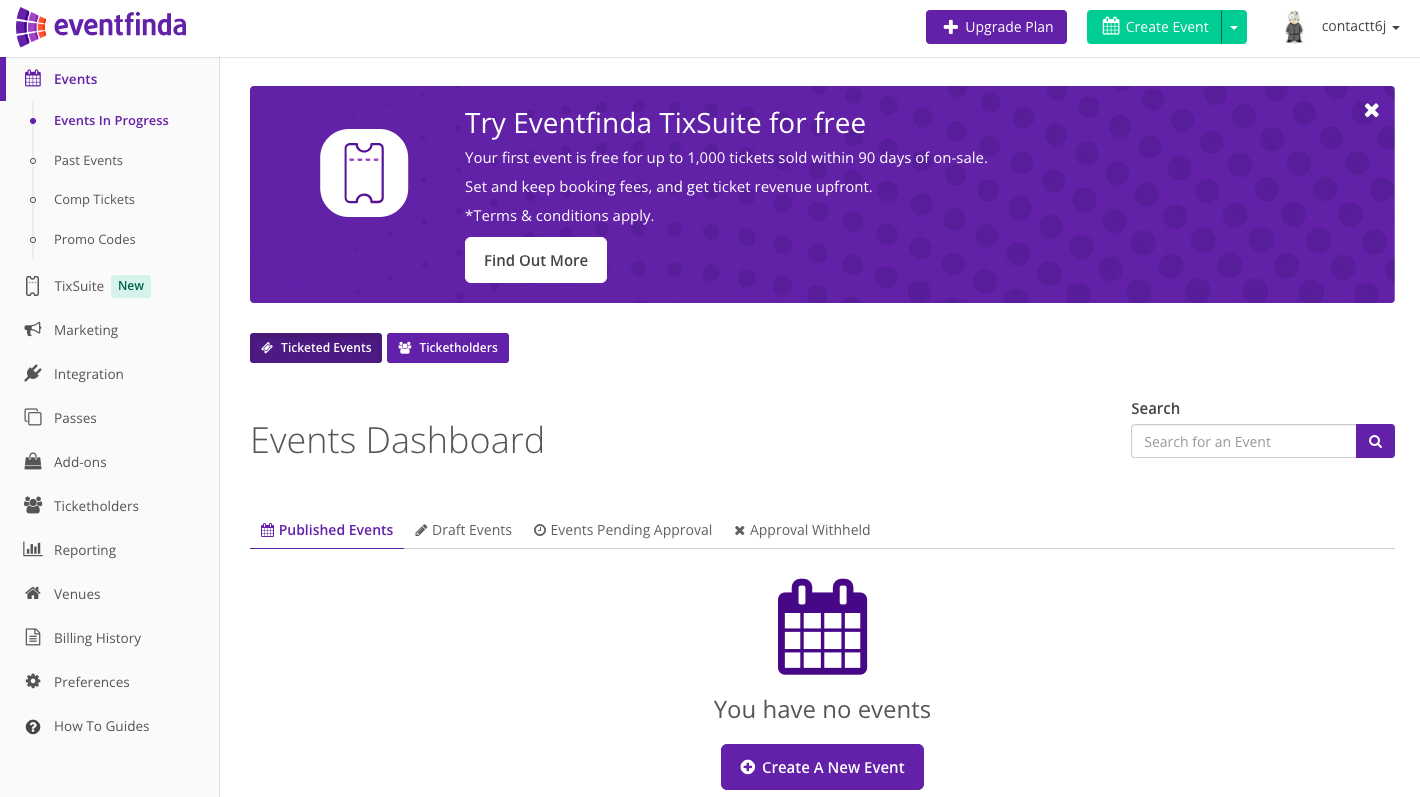
Click on the Create New Event button.
Enter your event details in the form provided including Event Title, Venue, Category and Sub-Category, Session time/s, Website/s, and a short Description.
Top tips:
-
Explain and sell your event with two to three engaging paragraphs in the description
-
A brief summary of your event
-
Event attractions
-
-
Add an end (finish) time
Do not:
-
Type in ALLCAPS
-
Use emojis
-
Overload the description with information
-
Repeat exclamation points
-
Include dates and times in the event title
Click Save & Continue.
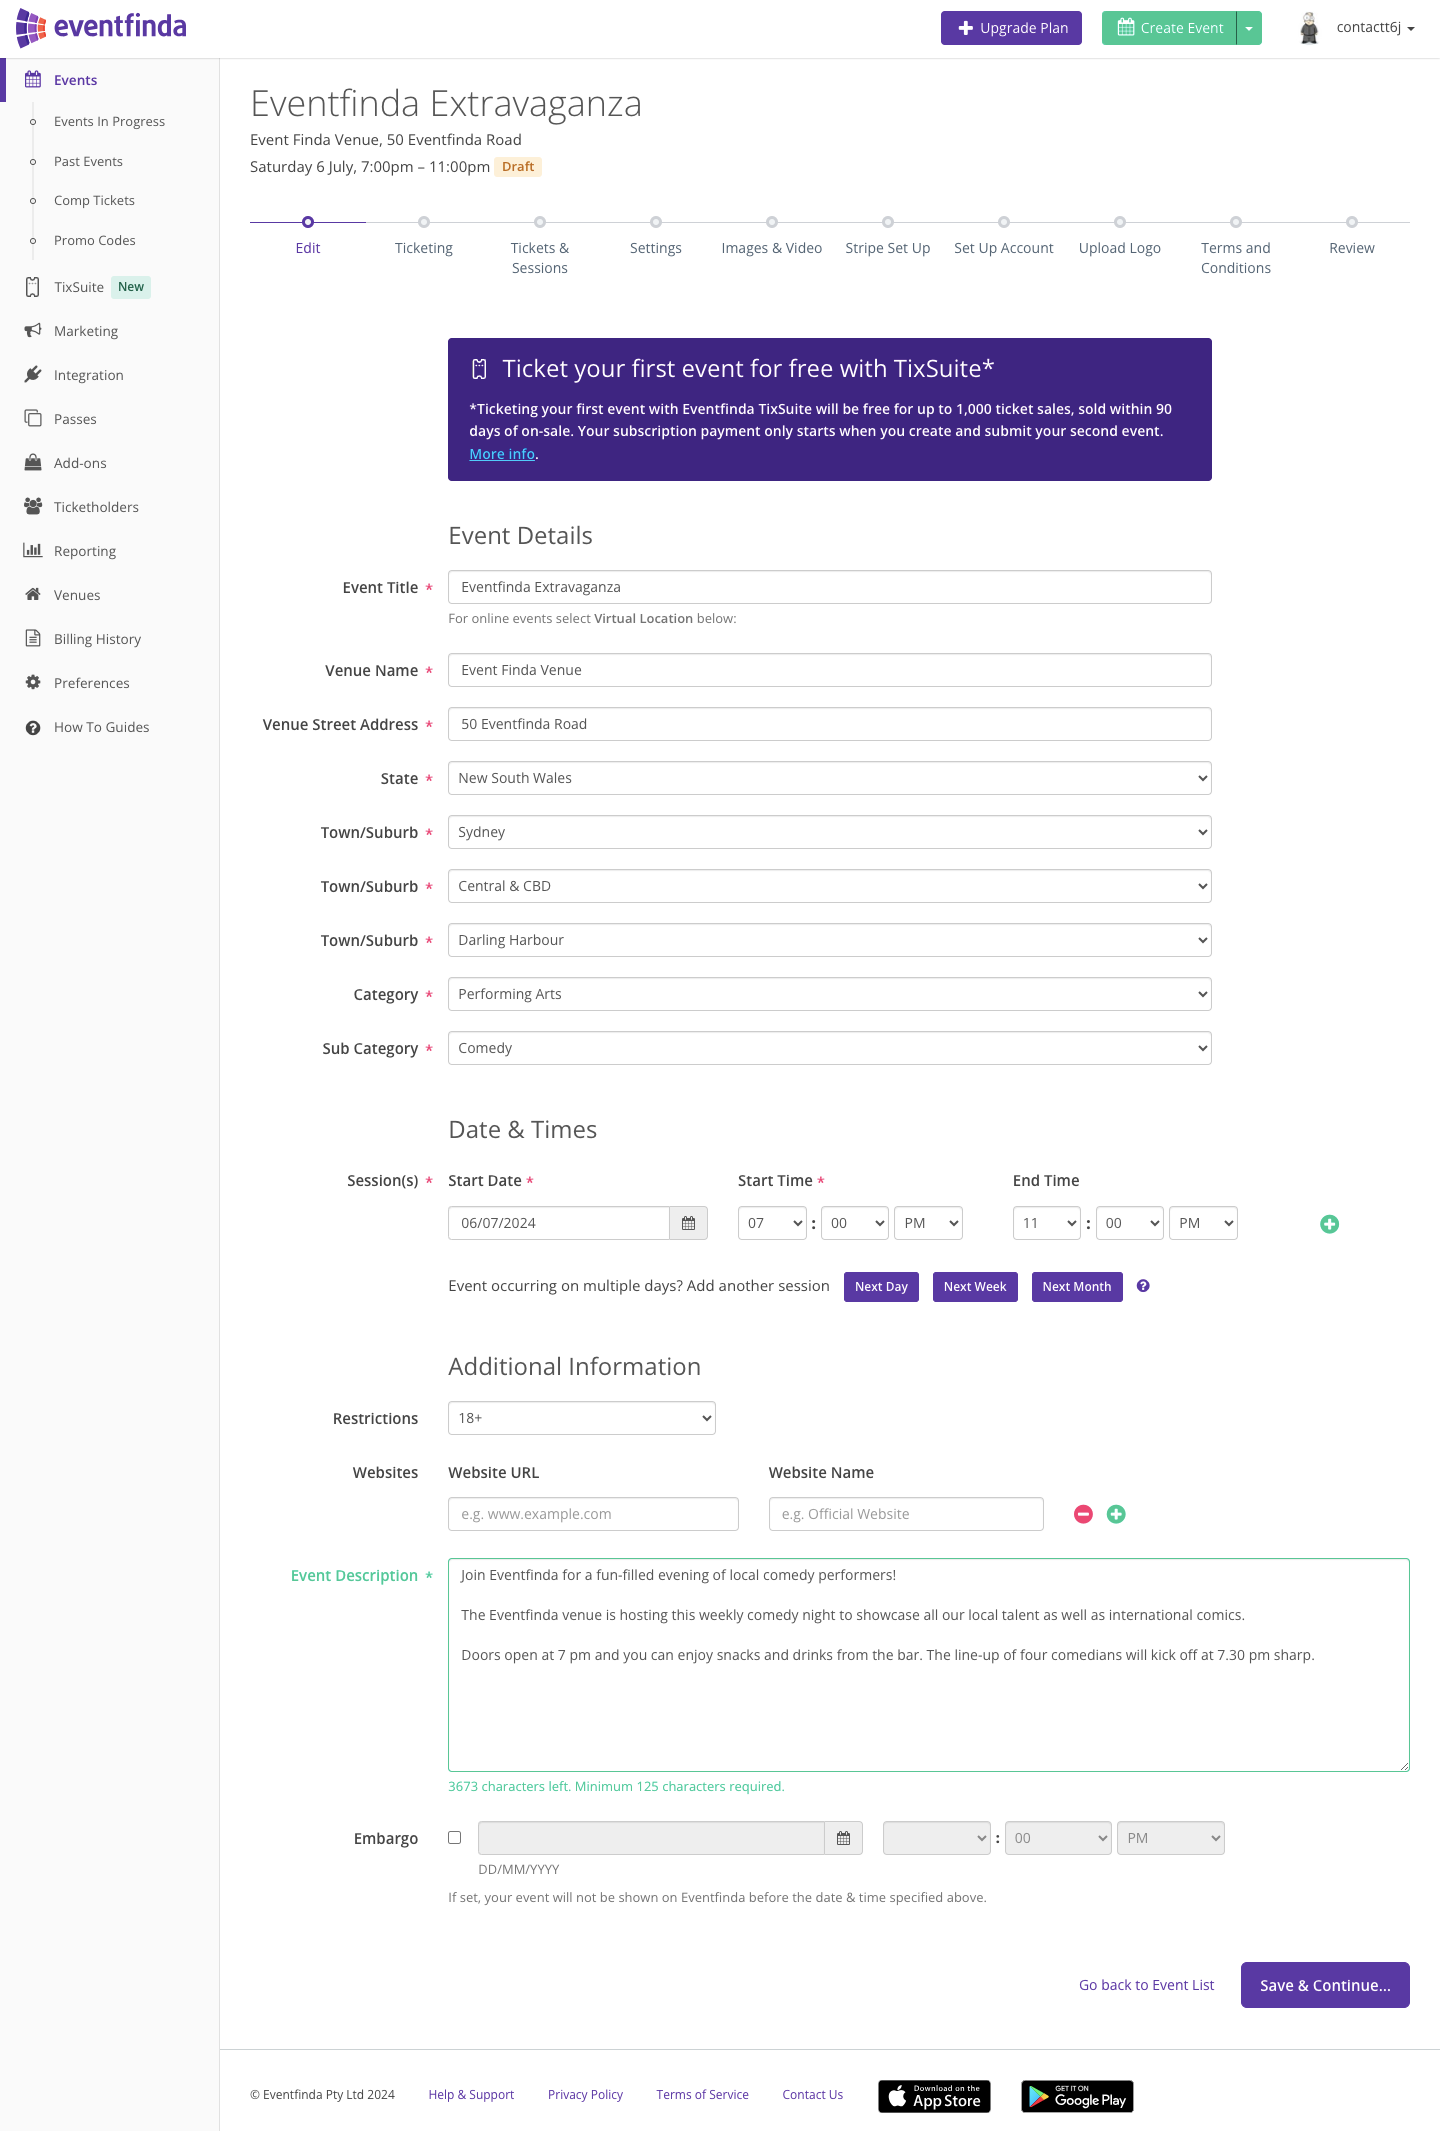
On the next page, select which type of event you are running.
Select Free Event if you are running a free event and continue with the set-up process.
If you are selling tickets for your event, select Ticketed Event and then Sell Tickets with Eventfinda TixSuite.
Scroll down. Does your event need allocated seating?
Select General Admission if you do not require allocated seating or Allocated Seating if you require a seating map.
Click Save & Continue
If you selected General Admission then skip to step 7 of this guide.

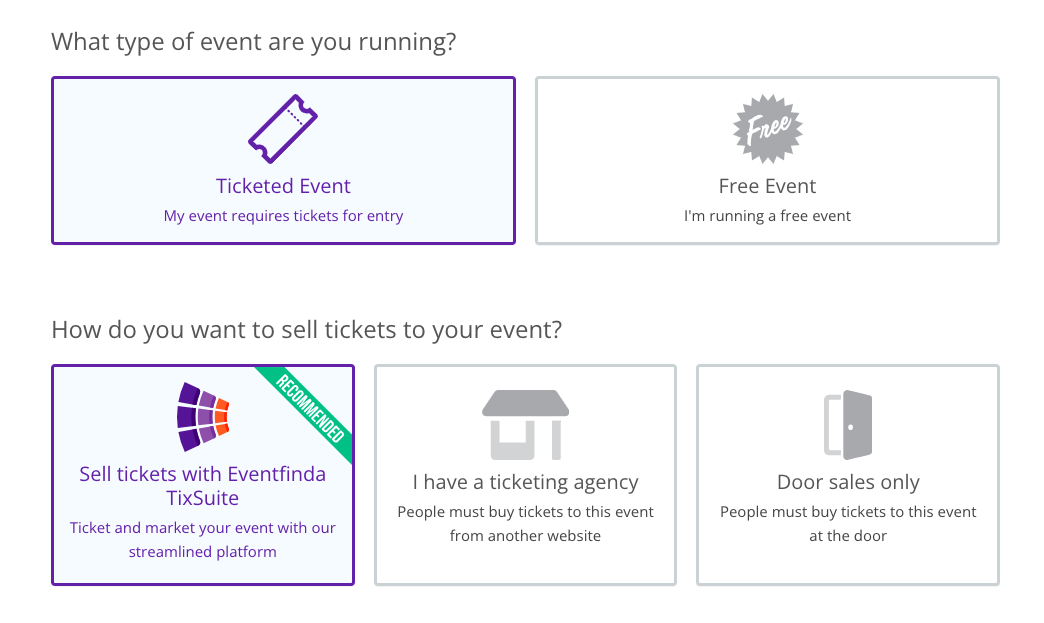
If you selected Allocated Seating on the previous screen then you will now see the option to request a seating map to be created for your venue. Once submitted you can continue with your event set-up.
If you would like a seating map to be created, please email us at support@eventfinda.com.au and we will be in touch within 3 business days. There will be an additional one-off minimum fee of $100 per map, which may increase depending on the complexity of your requirements, in which case we will quote the fee upfront. Please note that seating maps can take up to 15 business days to be processed.
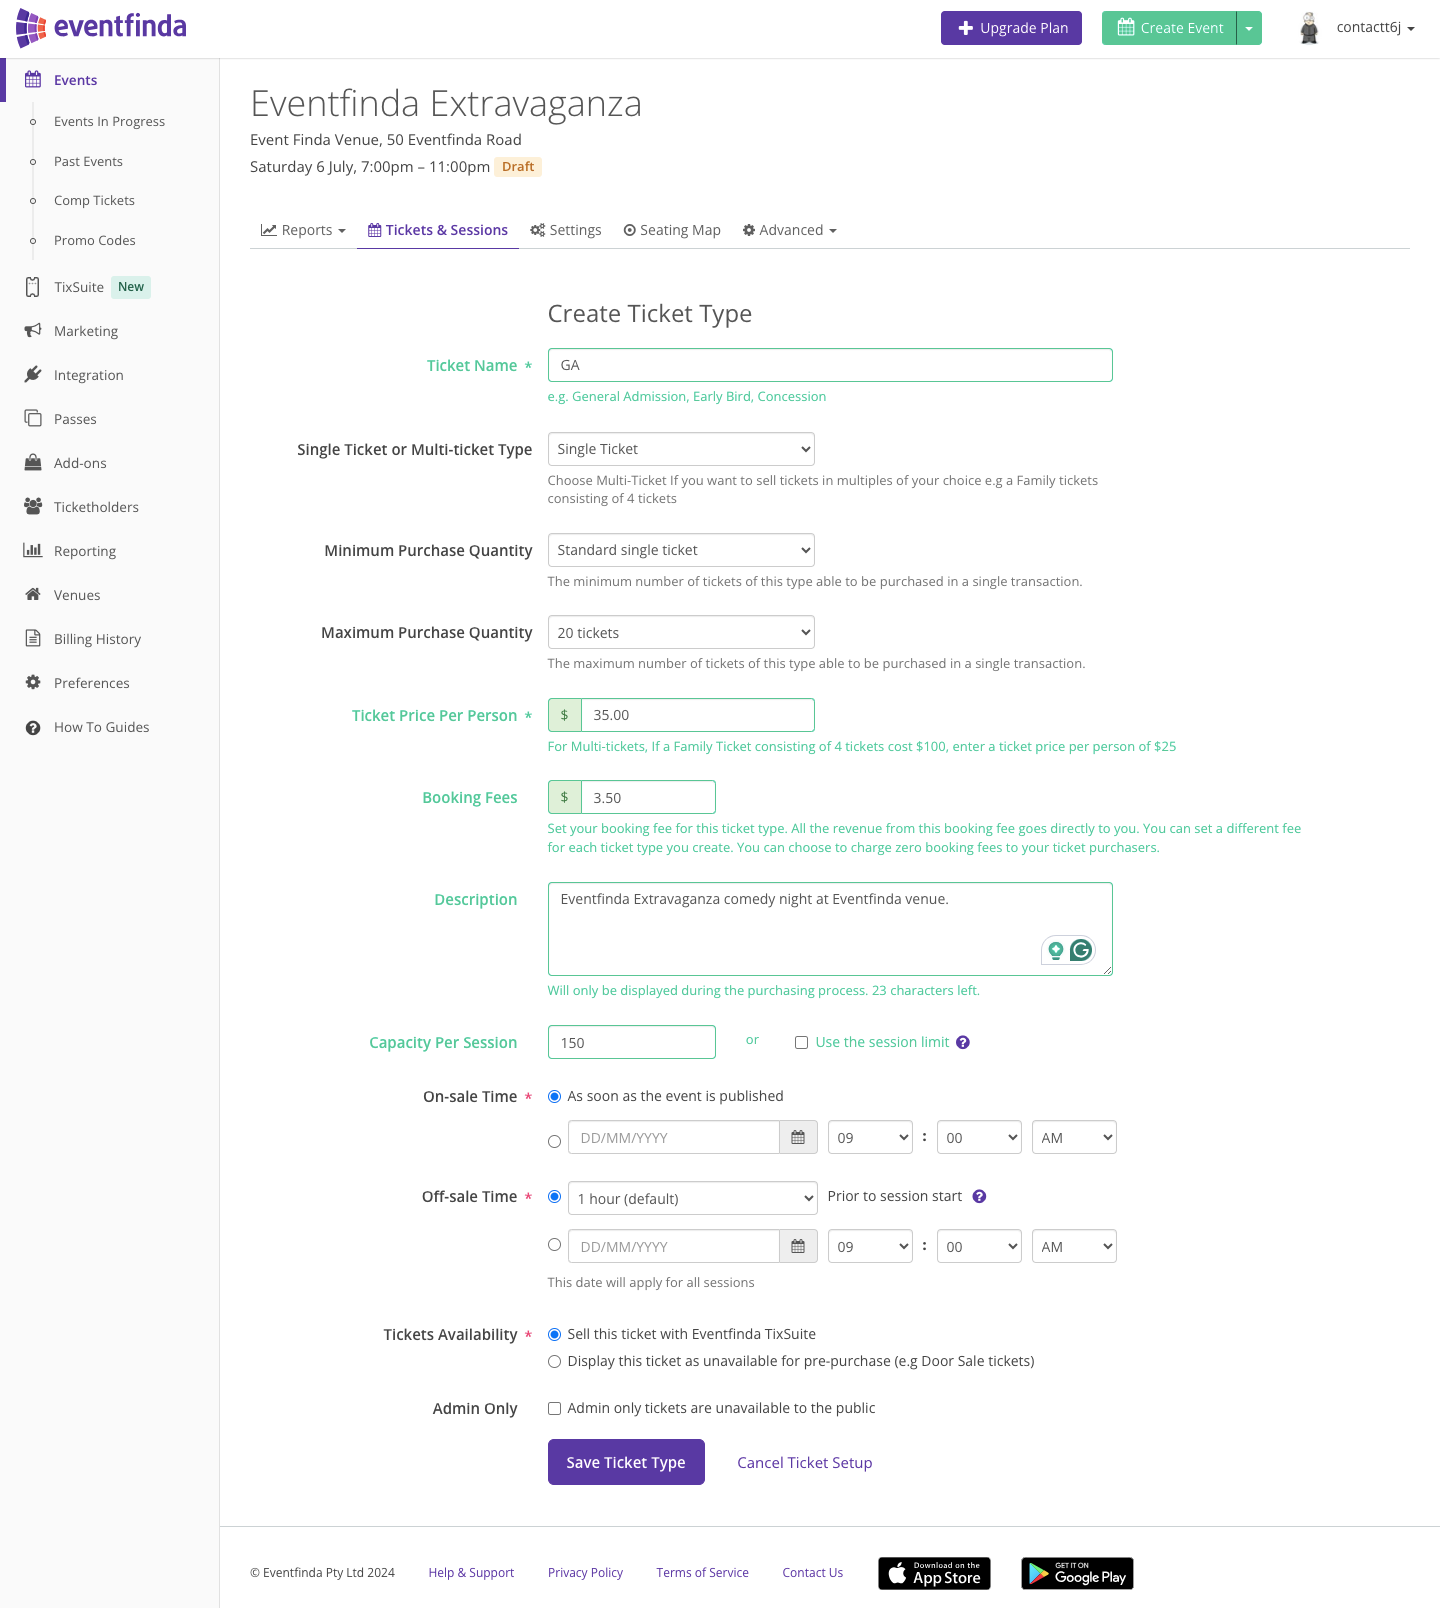
Enter your ticket details including ticket name, capacity, booking fee and price.
With TixSuite you can set a unique booking fee for each ticket type or apply the same fee across all tickets. The fee amount can be set at your discretion, ranging from charging zero booking fees to an amount that covers your expenses or more. Rest assured, all booking fees are yours to keep.
To cover your TixSuite monthly or annual Software-as-a-Service (SaaS) fees, you can choose to incorporate them into your booking fee. Simply divide your TixSuite fee by your expected monthly ticket sales and adjust your Booking Fee accordingly.
Top tips:
-
Set the overall capacity in the session(s)
-
Set the individual ticket capacities on the tickets
-
Include age descriptions on Child, Concession, Senior, or similar ticket types
Do not:
-
Type in ALLCAPS
-
Use emojis
-
Repeat event name or the dates, times, venue, acts/entertainment in the ticket titles or description
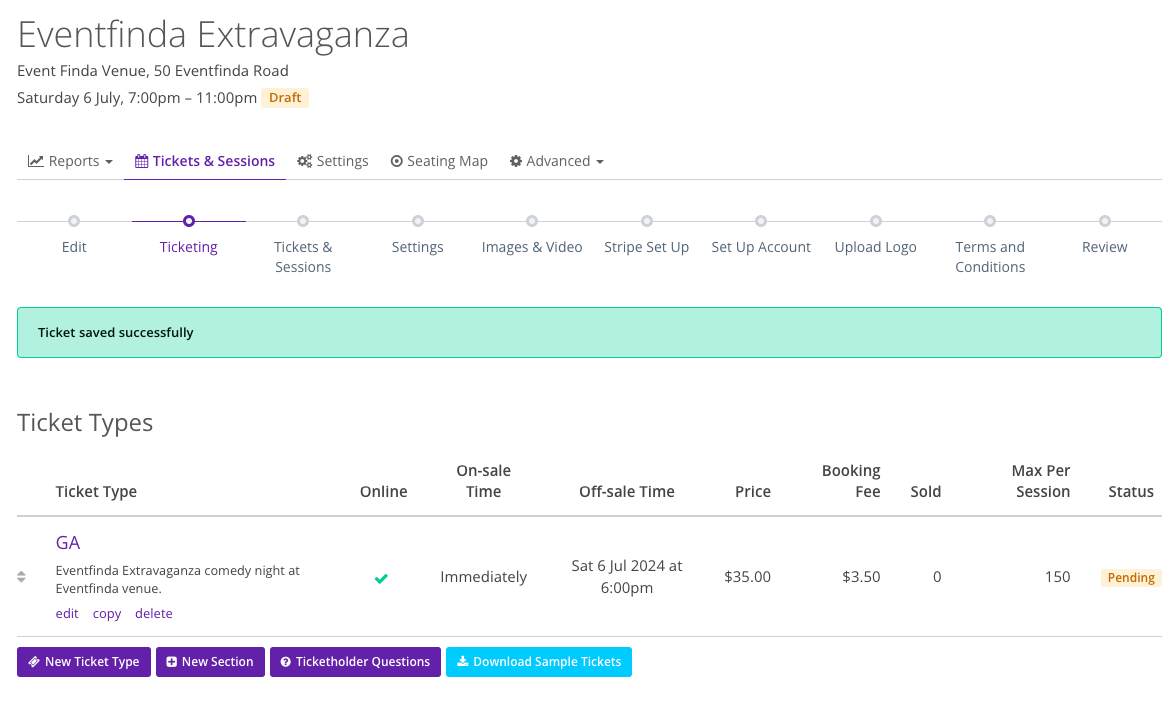
Click on the Save Ticket Type button.
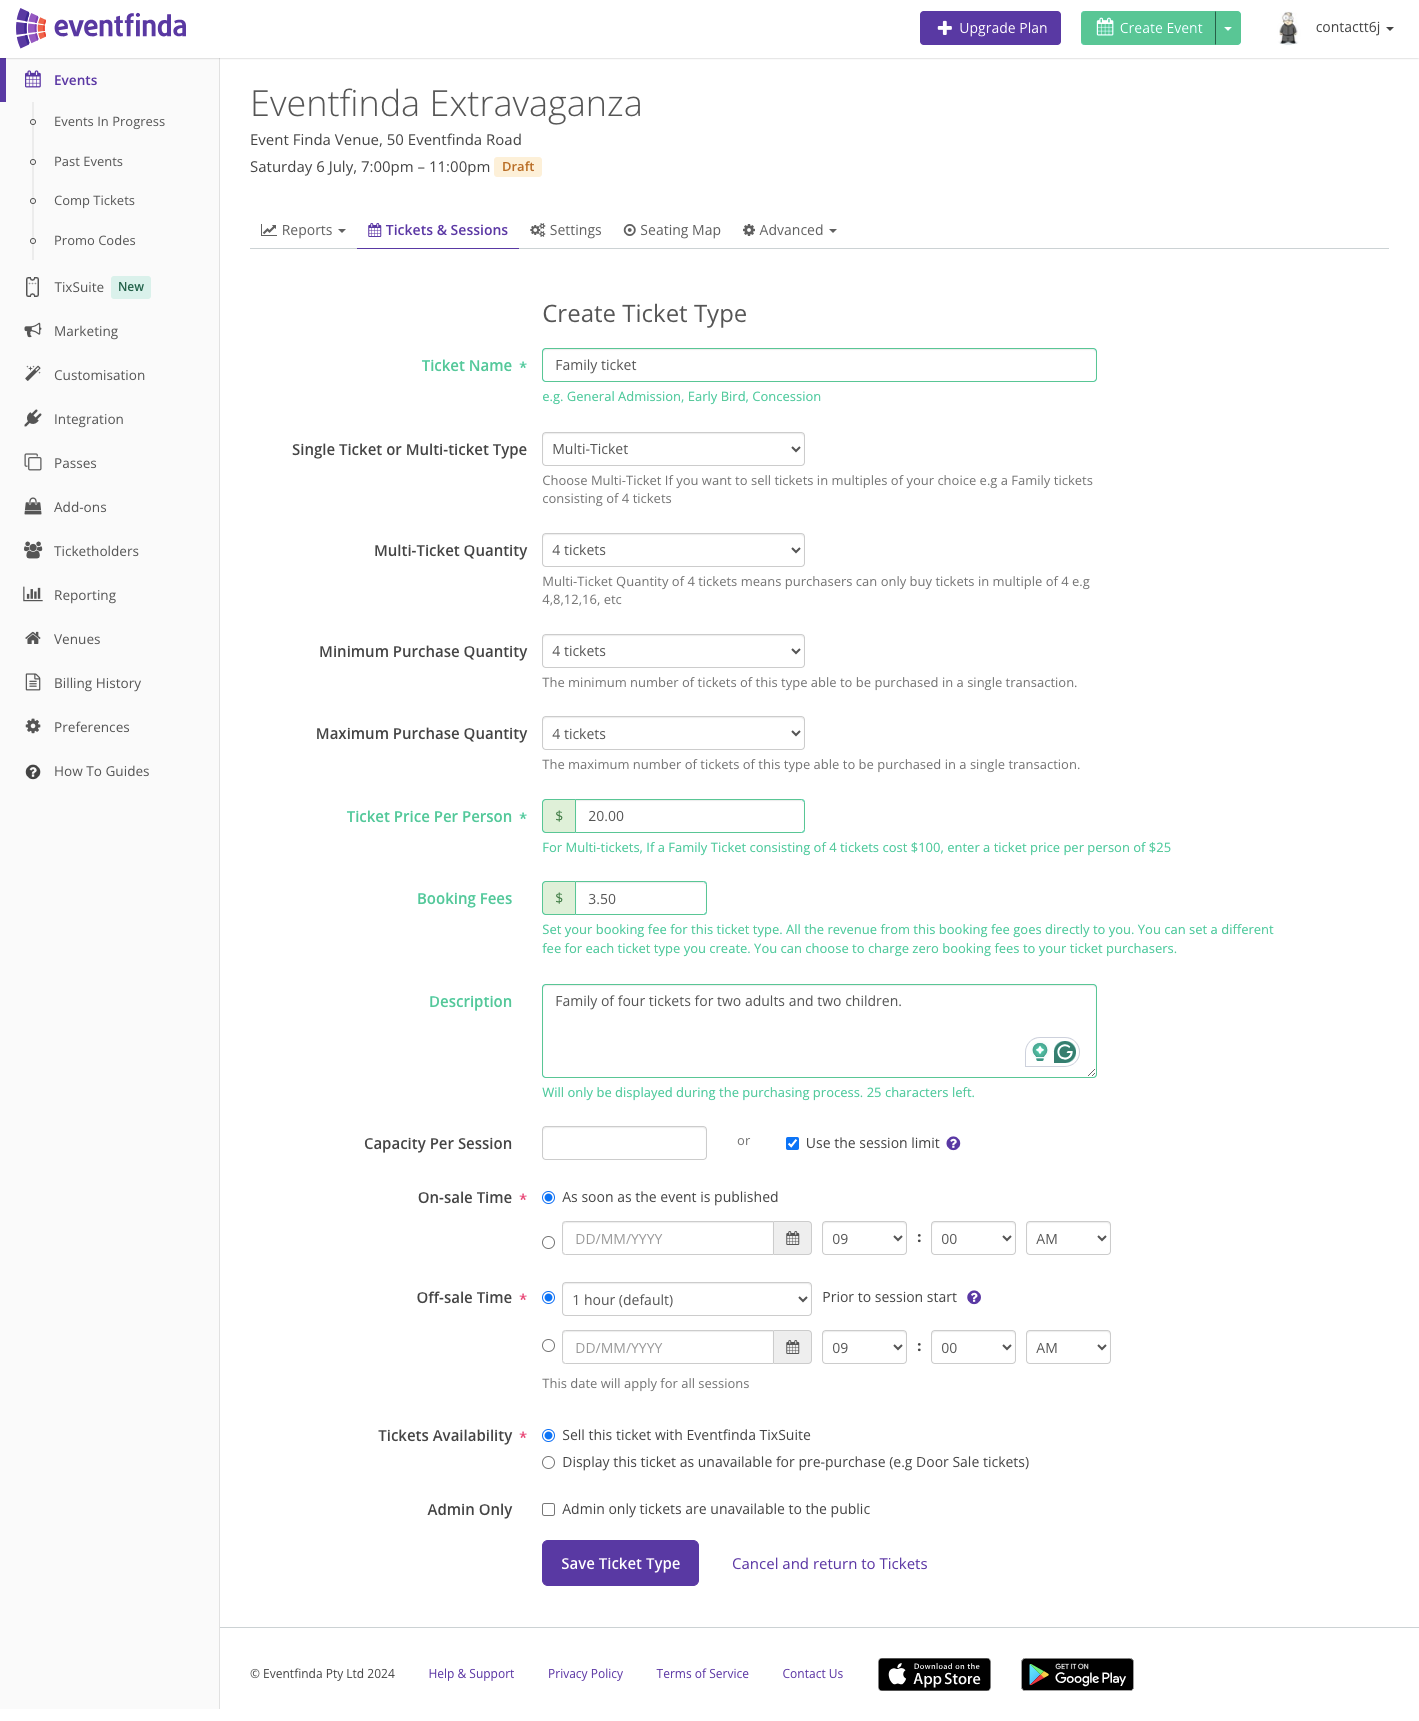
If you wish to create a Multi-ticket e.g. a Family Ticket or a Table of Six, simply select it from the dropdown.
Select the Multi-ticket Quantity in the next dropdown.
- For example, Family Ticket (2 adults, 2 children) select 4.
You must then ensure that your Minimum Purchase Quantity is set correctly for your Multi-ticket option.
- For example, for a Family Ticket (2 adults, 2 children) the minimum purchase should be set to 4 or for a Table of Six Multi-ticket, select 6 in Minimum Purchase Quantity dropdown.
Maximum Purchase Quantity restricts the amount of that ticket type available for sale
- For example, if set to 20 then you there will only be a total of 20 Family Tickets available for sale which would be 80 ticketholders attending your event under that ticket type.
Please ensure that the Ticket Price Per Person entered is multiplies of the total cost of your Multi-ticket.
- For example, if your Family ticket costs $100, the Ticket Price Per Person should be set at $25. This ensures that each of the four ticketholders attending your event are counted in your capacity per session.
Also, ensure that you enter your desired Booking Fees amount.
Confirm your event's session and ticketing details in the next screen.
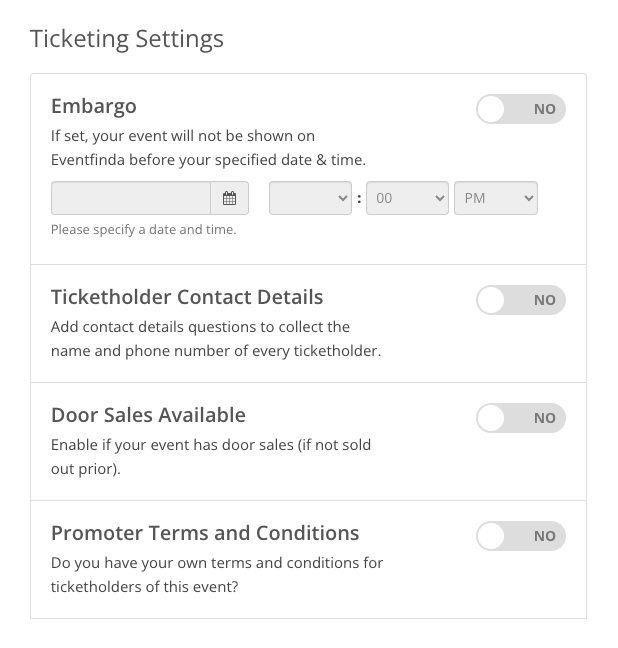
You can turn on any of the options shown to suit your event.
For example, add Ticketholder Contact Details to collect ticketholder names and phone numbers.
If you have your own event Promoters Terms and Conditions you can upload them if you toggle this option on. These Promoters T&Cs will be displayed at the checkout of a ticket purchase and on your event tickets.
Click the Continue button.
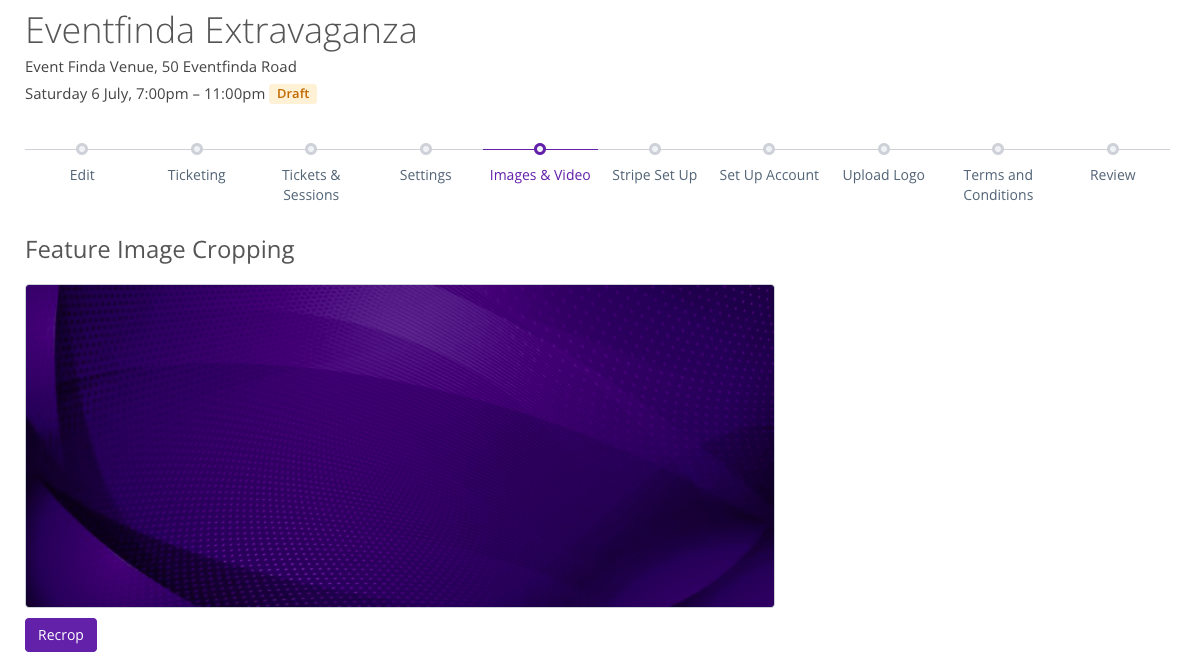
Upload images from your computer. Your feature image must be sized at 1170 pixels wide by 504 pixels high, and be a .JPG, .PNG, or .GIF file type.
You can also add a YouTube or Vimeo video to your event listing. Enter the URL in the box provided.
Click the Continue button.
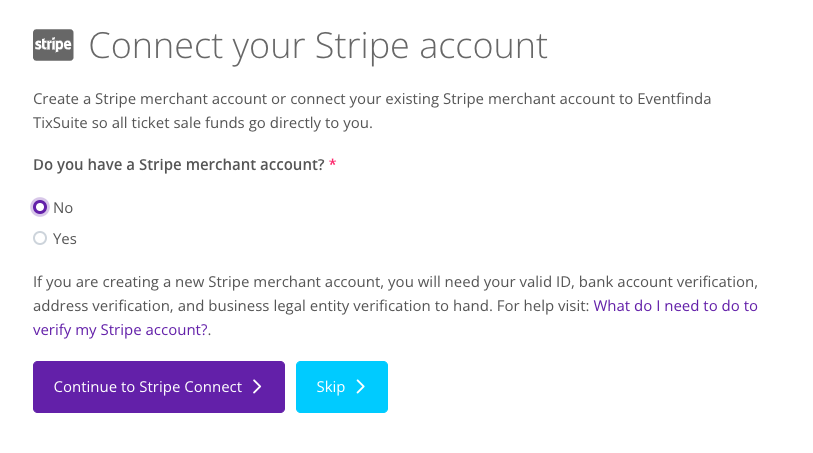
You need to either create a Stripe merchant account or connect your existing Stripe merchant account to Eventfinda TixSuite so all ticket sale funds go directly to you.
If you don't have a Stripe account already, simply click 'No' and click Continue to Stripe Connect.
Here you are able to create an account to manage your ticketing payments.
Or, if you would like to do this later, just click Skip.
Click Save & Continue.
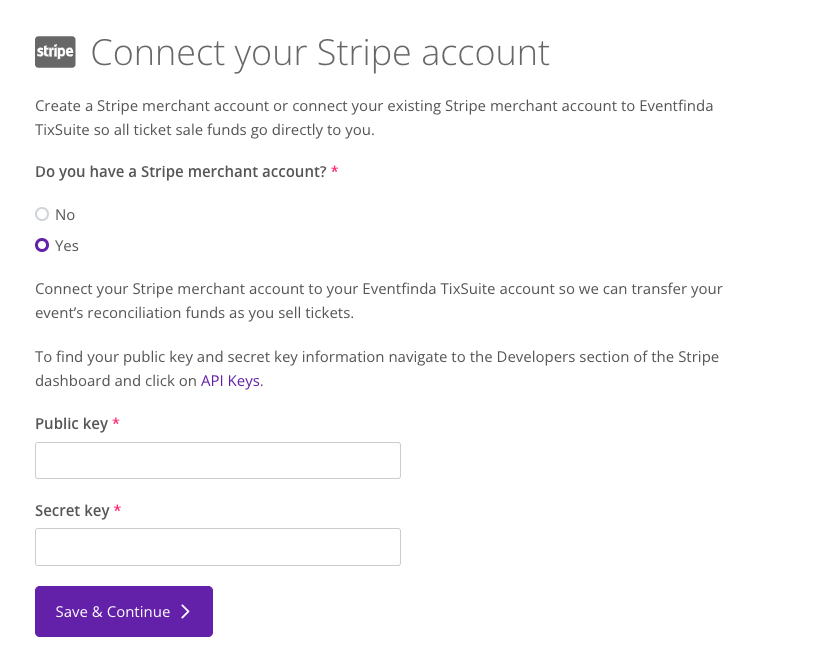
If you already have a Stripe account then simply click 'yes' and add in your Public Key and Secret Key to connect your account.
Click Save & Continue.
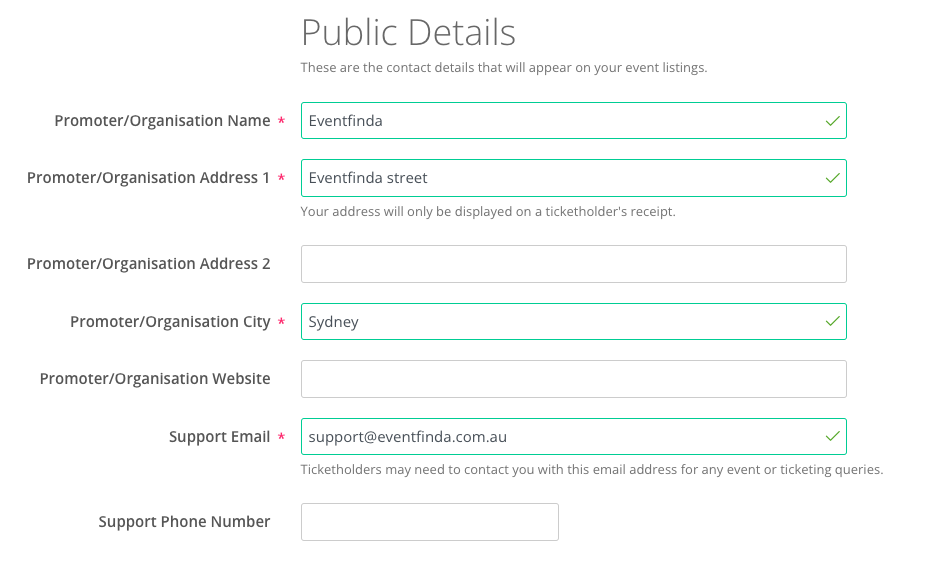
With TixSuite you are the point of contact for all Ticket Purchaser/Ticketholders event enquiries, postponements or cancellations.
Enter your public details i.e. the details you want to display on your on your event listings that people can contact you on. You must add a support email address but adding a support phone number is optional.
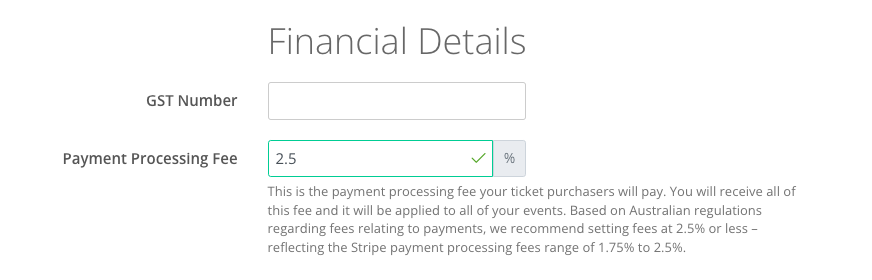
This is where you can add your GST number if you have one and the amount you want to set for a Payment Processing Fee.
With TixSuite you have the option to set a Processing Fee as a percentage of total booking fees. This applies to all ticket types and is set during your account set-up process. Opt for no Processing Fees or select a fee that offsets your expenses. You keep all Processing Fees collected to cover your Stripe costs.
Please note that under Australian consumer laws relating to payments, your Processing Fee should accurately mirror your actual ongoing Stripe charges. However, you have the freedom to set your Booking Fees as you wish, as they help offset your costs associated with event and ticketing management.
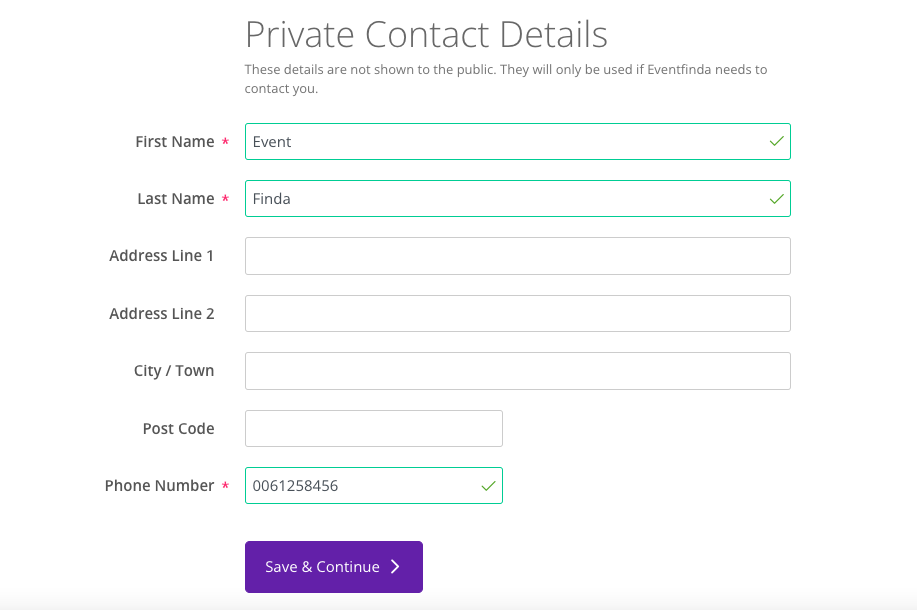
Please add your Private Contact Details here. These details are not shown to the public. They will only be used if Eventfinda needs to contact you.
Click Save & Continue.
Uplodad your organisation logo that will be displayed on your event’s e-ticket and ticket confirmation email templates.
Click Save & Continue.
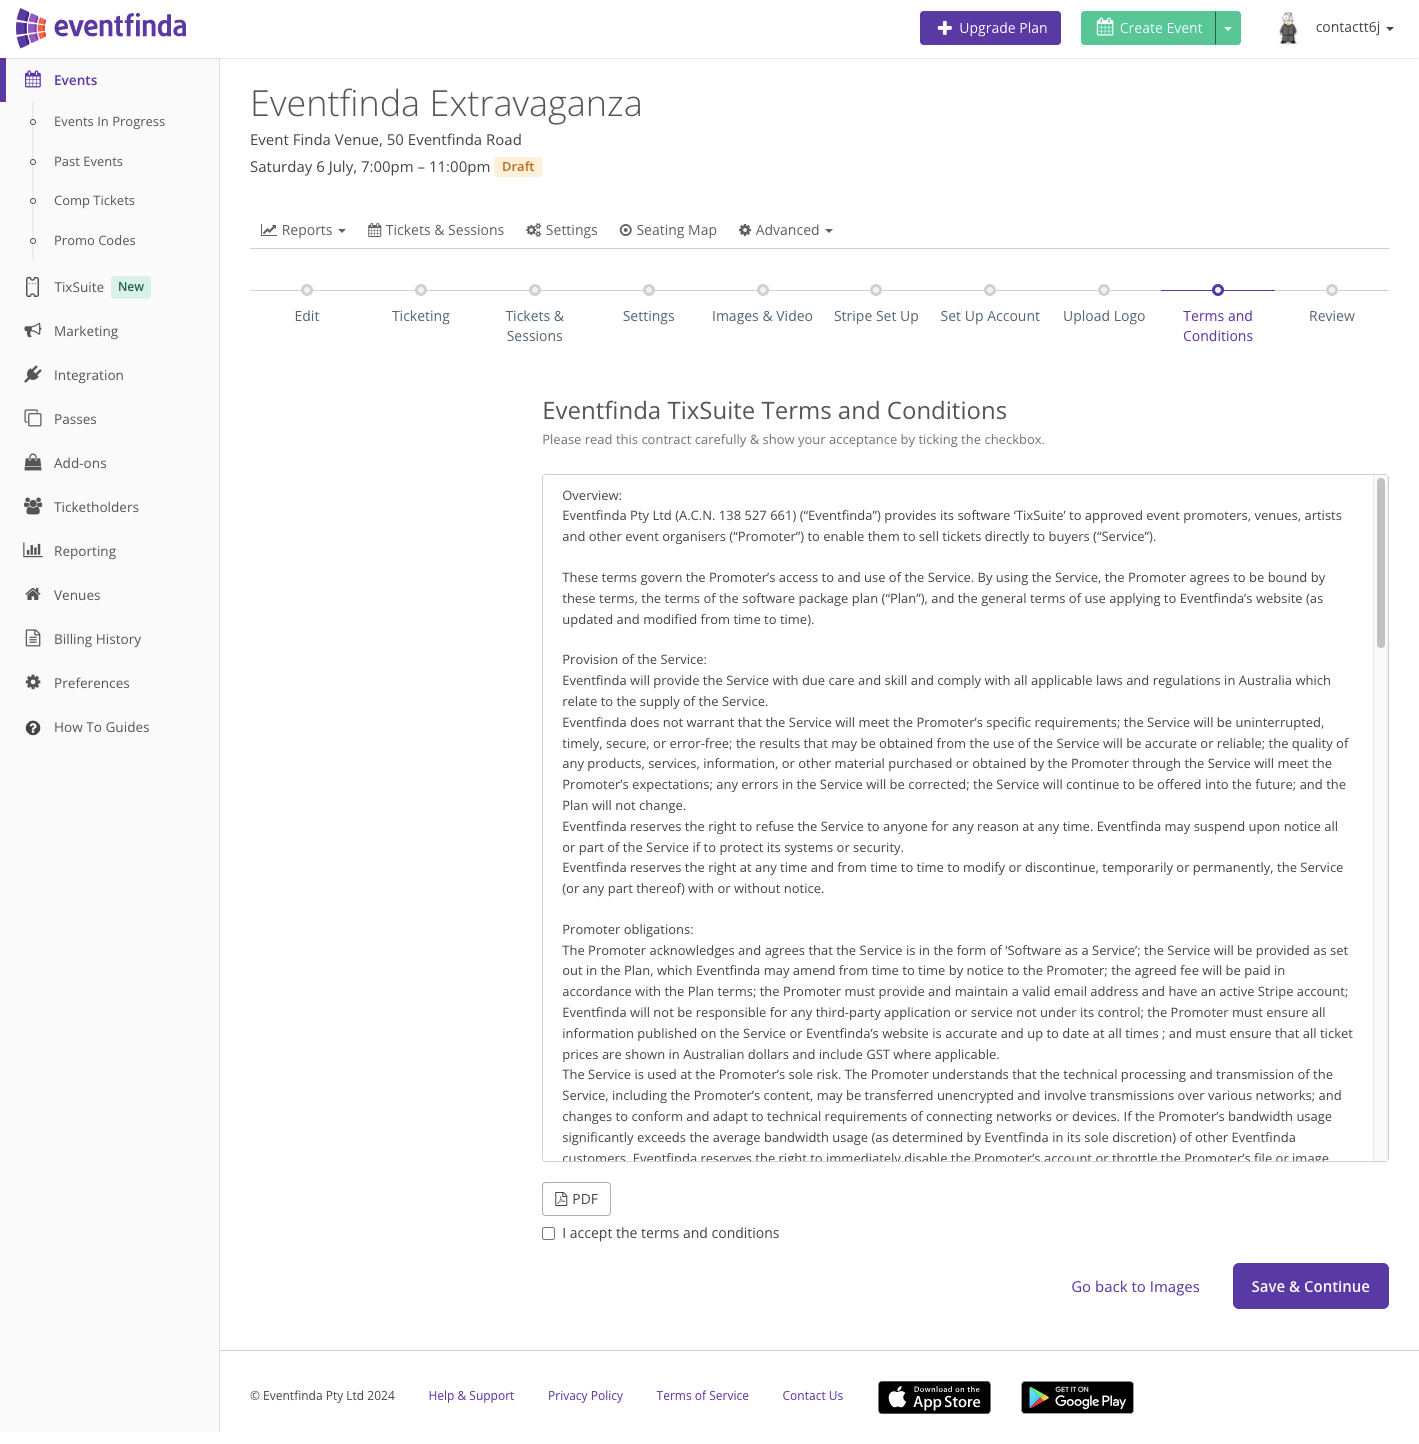
Please read this contract carefully & show your acceptance by ticking the checkbox. You may also download these by clicking the PDF icon.
Click Save & Continue.
This is the final page to review your event as it will appear once approved.
Click the Submit For Approval or you can click Save As Draft.
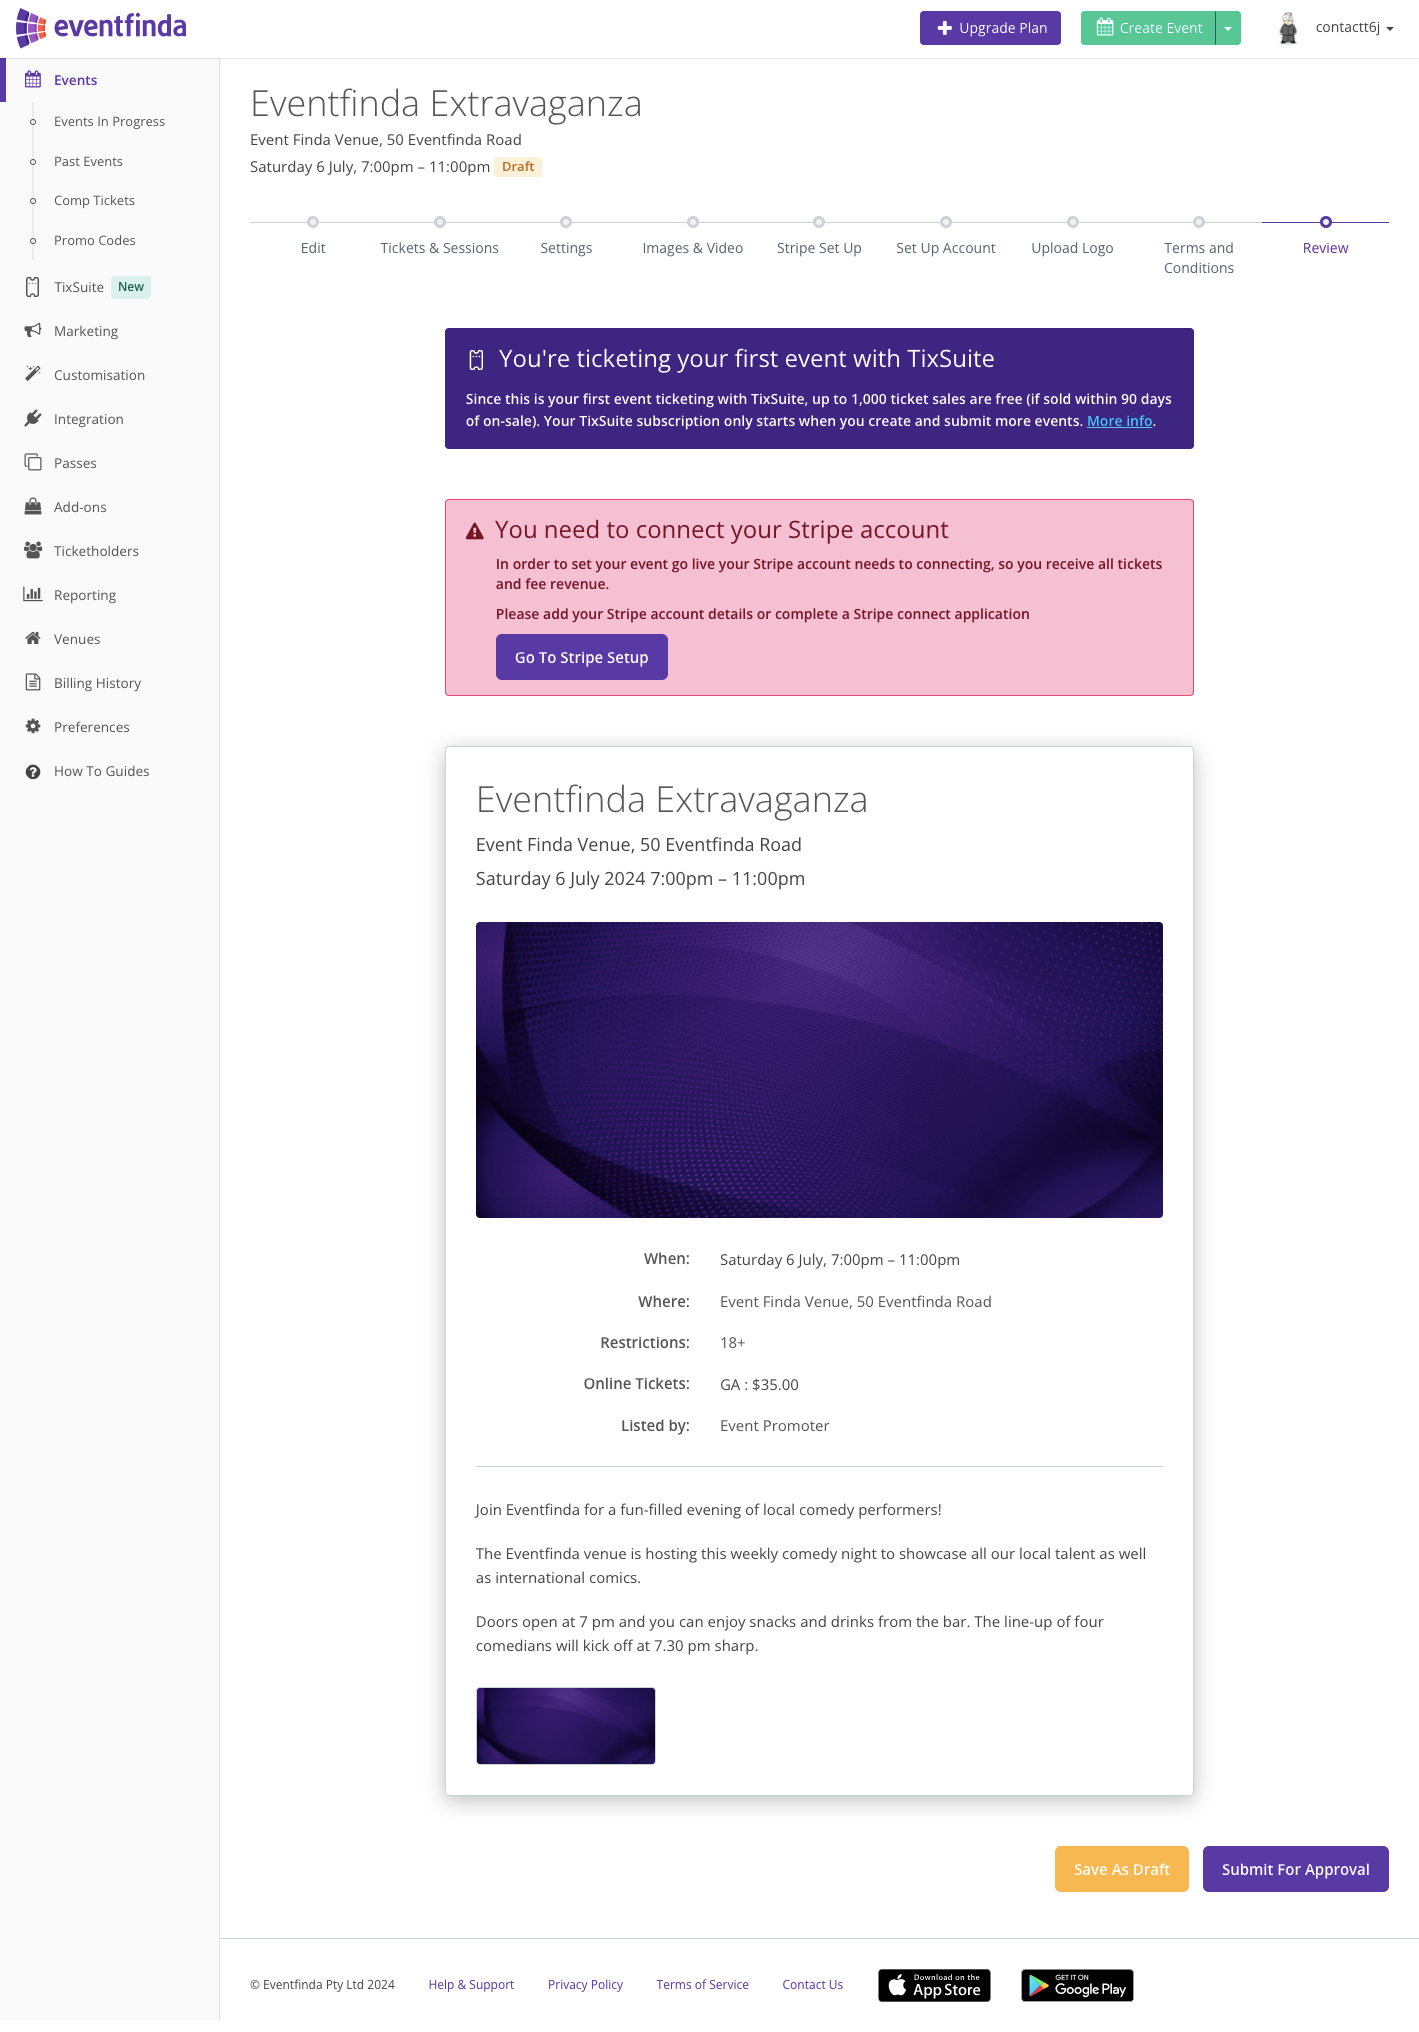
Your event has now been submitted for final approval.
The approval process for events ticketed with Eventfinda is 1-2 business days.
When you come to list your second event with TixSuite you will need to choose from one of three plans:Starter, Essential or Professional. You will be prompted to do so during your event set-up process.
Don’t see a plan that suits your event or venue? Get in touch so we can create something that works for you under a Enterprise Plan.
Your subscription payment only starts when you create and submit your second event.
Sign up annually to save 20% on your subscription plan and if you don’t run events all year round, you can pause your monthly plan whenever you want.
Once you select a plan you will be taken to a payment screen to add payment details and click subscribe to complete the process.
Find out more about the TixSuite plans.
